
Custom die cut stickers are a fantastic way to add personality and flair to your belongings or promote your brand. However, ensuring that these stickers adhere properly and are displayed effectively can make a significant difference in their impact and longevity. In this comprehensive guide, we’ll explore the art of adhesion, offering tips and tricks for applying and displaying custom die cut stickers like a pro.
Understanding Die Cut Stickers
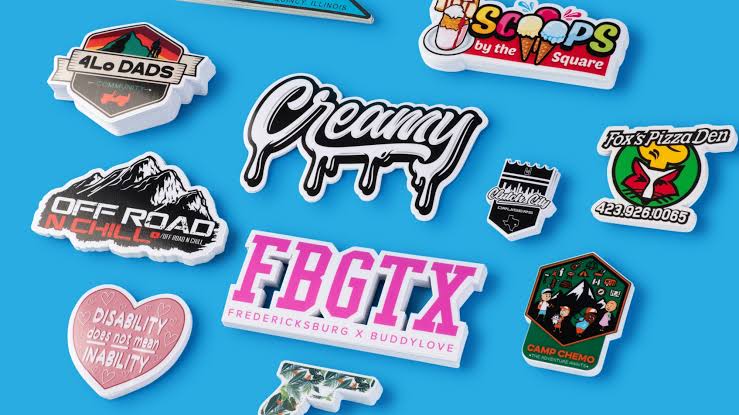
Die cut stickers are precisely cut to follow the outline of the design or logo, making them unique and eye-catching. They are typically made from vinyl, a durable and weather-resistant material that adheres well to various surfaces, including glass, metal, plastic, and paper. The adhesive used on these stickers is crucial for ensuring they stay in place and look great for a long time.
Choosing the Right Sticker Adhesive
The first step in ensuring your custom die cut stickers adhere well is choosing the right adhesive. Here are some common adhesive options:
1. Permanent Adhesive
This type of adhesive creates a strong, permanent bond, making it ideal for long-term applications such as branding and product labeling.
2. Removable Adhesive
Removable adhesive allows the sticker to be easily removed without leaving residue, making it suitable for temporary applications like promotions or events.
3. High-Tack Adhesive
High-tack adhesive provides an extra-strong bond, ideal for rough or uneven surfaces where standard adhesives might struggle to adhere.
4. Static Cling
Static cling stickers adhere using static electricity, making them easy to apply and remove without leaving residue. They are perfect for temporary displays on windows or glass.
Choose the adhesive based on the intended use of your stickers to ensure they adhere properly and serve their purpose effectively.
Preparing the Surface
Before applying your custom die cut stickers, it’s crucial to prepare the surface properly. Follow these steps for optimal adhesion:
1. Clean the Surface
Use a mild detergent and water to clean the surface thoroughly. Remove any dirt, dust, or grease that could interfere with the adhesive.
2. Dry the Surface
Ensure the surface is completely dry before applying the sticker. Moisture can prevent the adhesive from bonding correctly.
3. Avoid Contaminants
Keep the surface free from contaminants such as oils, waxes, or silicone-based products, as they can interfere with adhesion.
Applying Your Custom Die Cut Stickers
Now that you’ve chosen the right adhesive and prepared the surface, it’s time to apply your stickers. Follow these steps for a smooth application:
1. Peel the Backing
Carefully peel the backing off the sticker, taking care not to touch the adhesive.
2. Position the Sticker
Place the sticker on the surface, ensuring it is aligned correctly and positioned as desired.
3. Smooth Out Air Bubbles
Use a squeegee or a credit card to smooth out any air bubbles, starting from the center and working towards the edges.
4. Press Firmly
Once the sticker is in place, press firmly on the entire surface to ensure good adhesion.
Displaying Your Custom Die Cut Stickers
Displaying your custom die cut stickers effectively can enhance their visibility and impact. Here are some creative ways to showcase your stickers:
1. On Vehicles
Custom die cut stickers are perfect for vehicle branding. Place them on car windows, bumpers, or doors to promote your brand or add a personal touch to your vehicle.
2. On Laptops and Devices
Personalize your laptop or mobile device with custom stickers. They are a great way to showcase your interests or add a pop of color to your devices.
3. On Bottles and Jars
Use custom stickers to label bottles, jars, or containers. They are perfect for product branding or adding a decorative touch to gifts.
4. On Windows and Mirrors
Display custom die cut stickers on windows or mirrors to promote your business or add a decorative element to your space.
Maintaining Your Custom Die Cut Stickers
To ensure your custom die cut stickers look great for a long time, follow these maintenance tips:
1. Avoid Harsh Cleaning Products
Use mild soap and water to clean stickers. Avoid using harsh cleaning products or abrasive materials that could damage the sticker.
2. Protect from UV Rays
If possible, place stickers in areas where they are protected from direct sunlight, as prolonged exposure to UV rays can cause the colors to fade over time.
3. Avoid Extreme Temperatures
Extreme heat or cold can affect the adhesive and cause the sticker to peel. Avoid placing stickers in areas where they are exposed to extreme temperatures.
Conclusion
Custom die cut stickers are a versatile and eye-catching way to personalize your belongings or promote your brand. By choosing the right adhesive, preparing the surface properly, and applying the stickers correctly, you can ensure they adhere well and look great for a long time. Displaying your stickers creatively and maintaining them properly will further enhance their impact and longevity. With these tips and tricks, you’ll be able to showcase your custom die cut stickers like a pro!